Personal opinion? If you really want to grasp materials easily, it might be best to start out with the barest basics of the PBR texture stack before delving in to the deep end of the shader pool.
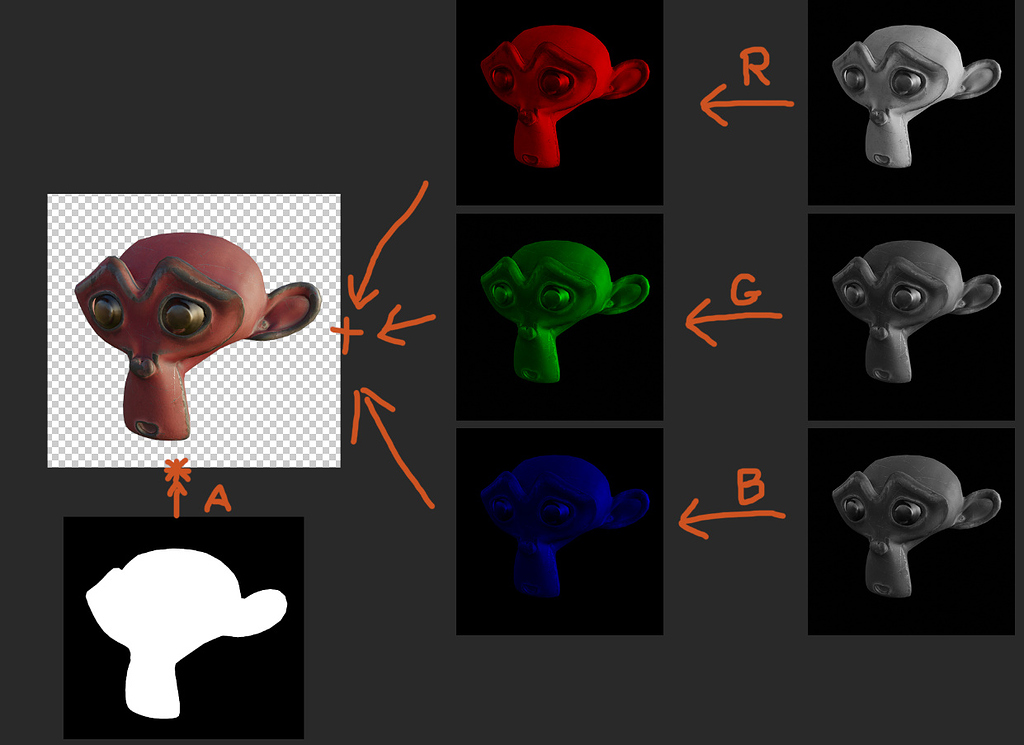
Diffuse/Albedo - The colors of your surface, devoid of any shadow or highlight information
Metallic - What surfaces on your texture are metal, and what aren't. For photorealistic results, this should be treated as a binary value: if it's metal, it's white, if it's not a metal, it's black. You can play around with shades of grey for some extra style and taste though.
Roughness - In simplest terms, it's what's shiny on your texture, and what isn't. Think of a Pool ball fresh out of the box with nary a scratch or a fingerprint on it. It's very shiny, right? In PBR texturing terms, it's smooth. A full black roughness map. Now, say you take an X-acto knife to this Pool ball, and start scratching away at this shiny surface. It starts becoming less and less shiny the more you scratch it. You're adding roughness to the surface of this pool ball, which would be translated into little cuts of lighter grey on your roughness map. The more towards white it is, the rougher it becomes.
Normal - So what's a normal in 3D terms? Okay, think of a quad, a square with 4 vertex points at each corner, all connected by edges that, when enclosed, make up a face. Now which direction is this face pointing? That's your normal.
Since a picture is worth a thousand words, here's a shot of a quad, with the little light blue line representing the surface normal.
View attachment 9483
So what's a normal map good for? Well, say your texture has a bunch of little pebbles on it. They're bumpy, so they should be picked up by the lights, and cast shadows and highlights, right? Thing is, there's no information on your texture for the light rays to bounce off of. As far as they're concerned, your texture is perfectly flat.
You could add in some polygon rocks in there to break up the light, and make things look more realistic. But these are tiny details. There's no reason to waste millions of polygons on something that small. So what do you do? You can take the normal information from a surface, and bake it to a texture, giving your renderer something to work with.
And since pictures will be worth a million words in this situation, here's a shot of a basic cylinder with a normal map baked from a high poly source. There's no extra geometry added to the cylinder, but it's catching the light much like the high poly rope does.
View attachment 9484
This is what your normal maps are for.
Height - Somewhat similar to a normal map, but instead of baking curvature and angle, it's baking height. You won't be using these often starting out, but they're great for displacements, or adding actual 3D depth to an otherwise flat object through shader trickery, like parallax occlusion maps.
Ambient Occlusion - A map of the shadows in your crevices, places where light usually doesn't quite reach, leaving it in slight shadows. In the shot above, you can see the AO in the places where the braids of the ropes meet on both the real geometry, and normalmapped cylinder. You'll usually be combining these with your diffuse, strengthening or weakening their effect based upon your personal tastes. They can also be used to create masks for adding things like rust, dirt, or dust into the cracks and crevices on your objects when making smart materials.
Emission - This one's easy. You have a texture with a glowy bit on it? Make them actually glow with emission maps! When baking light information, they'll make your texture act as their own light source based upon the emission.
Now these are the basic parts of a material. Once you know how all of these play together, you can start building more complex shaders more easily.